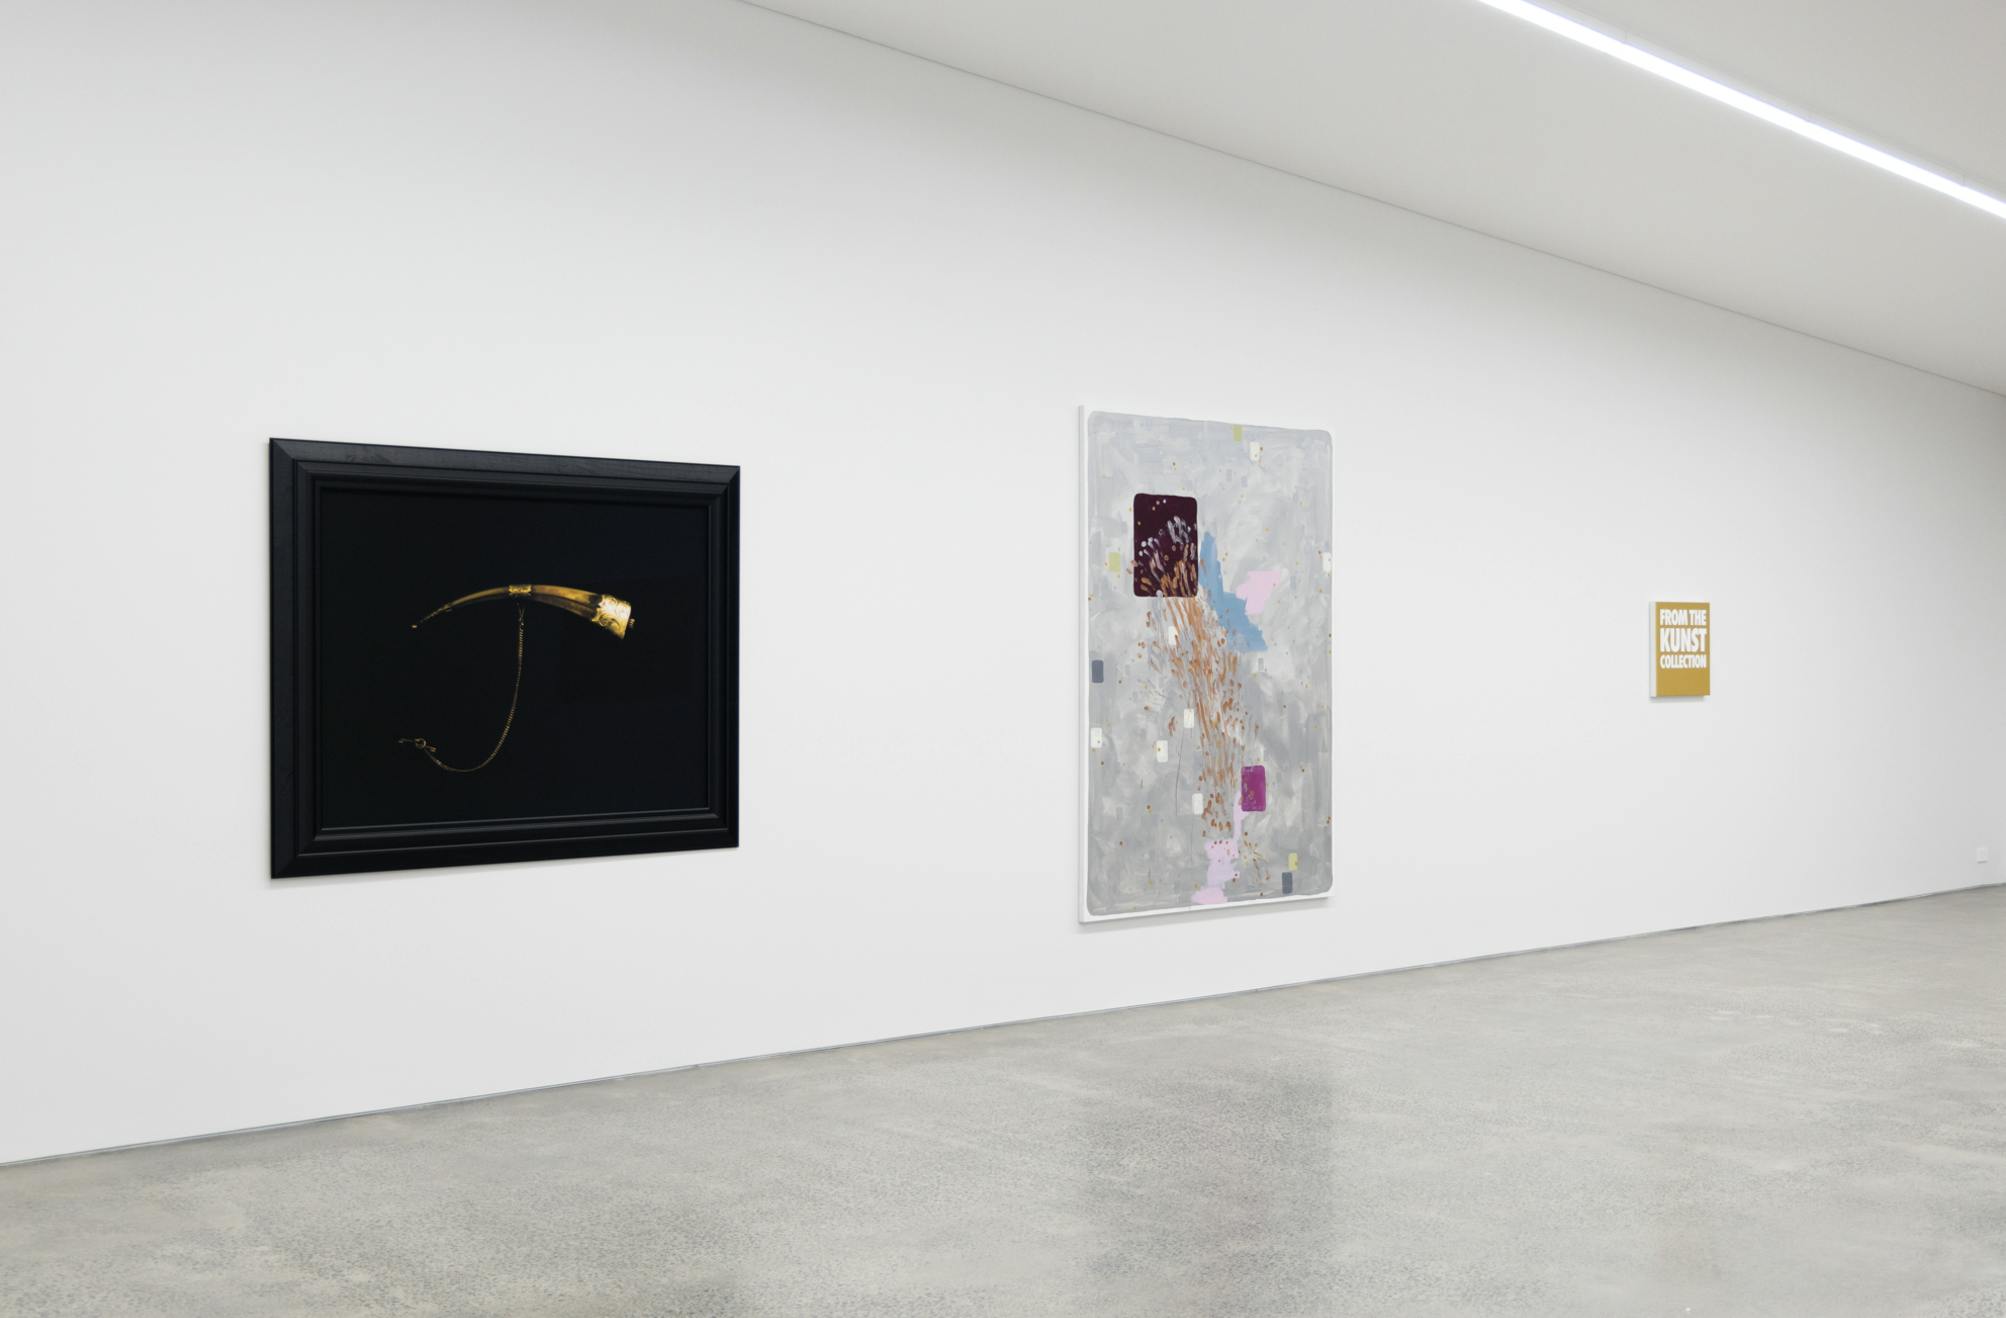
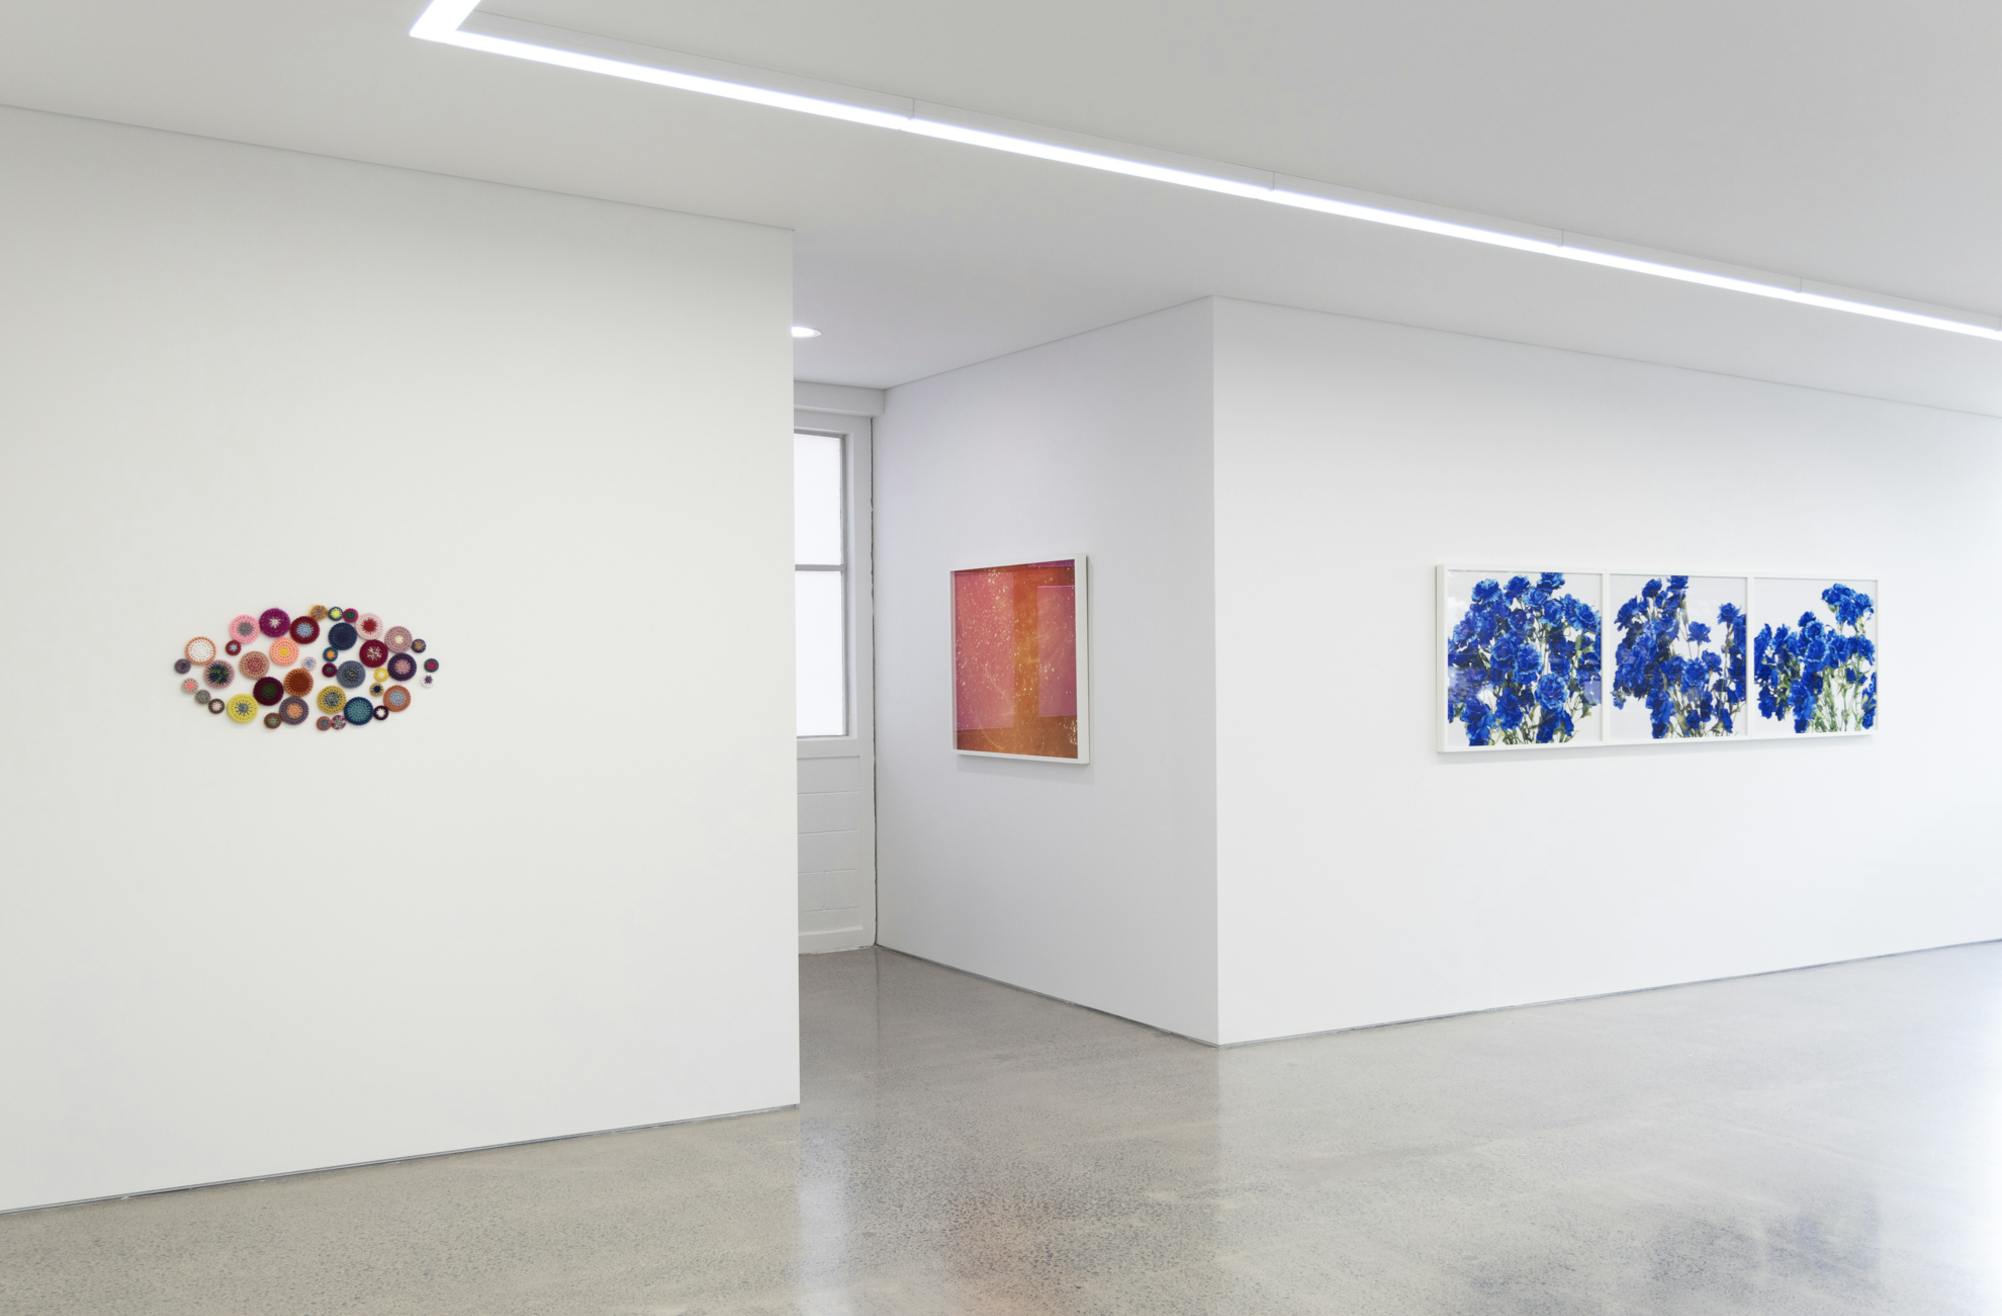
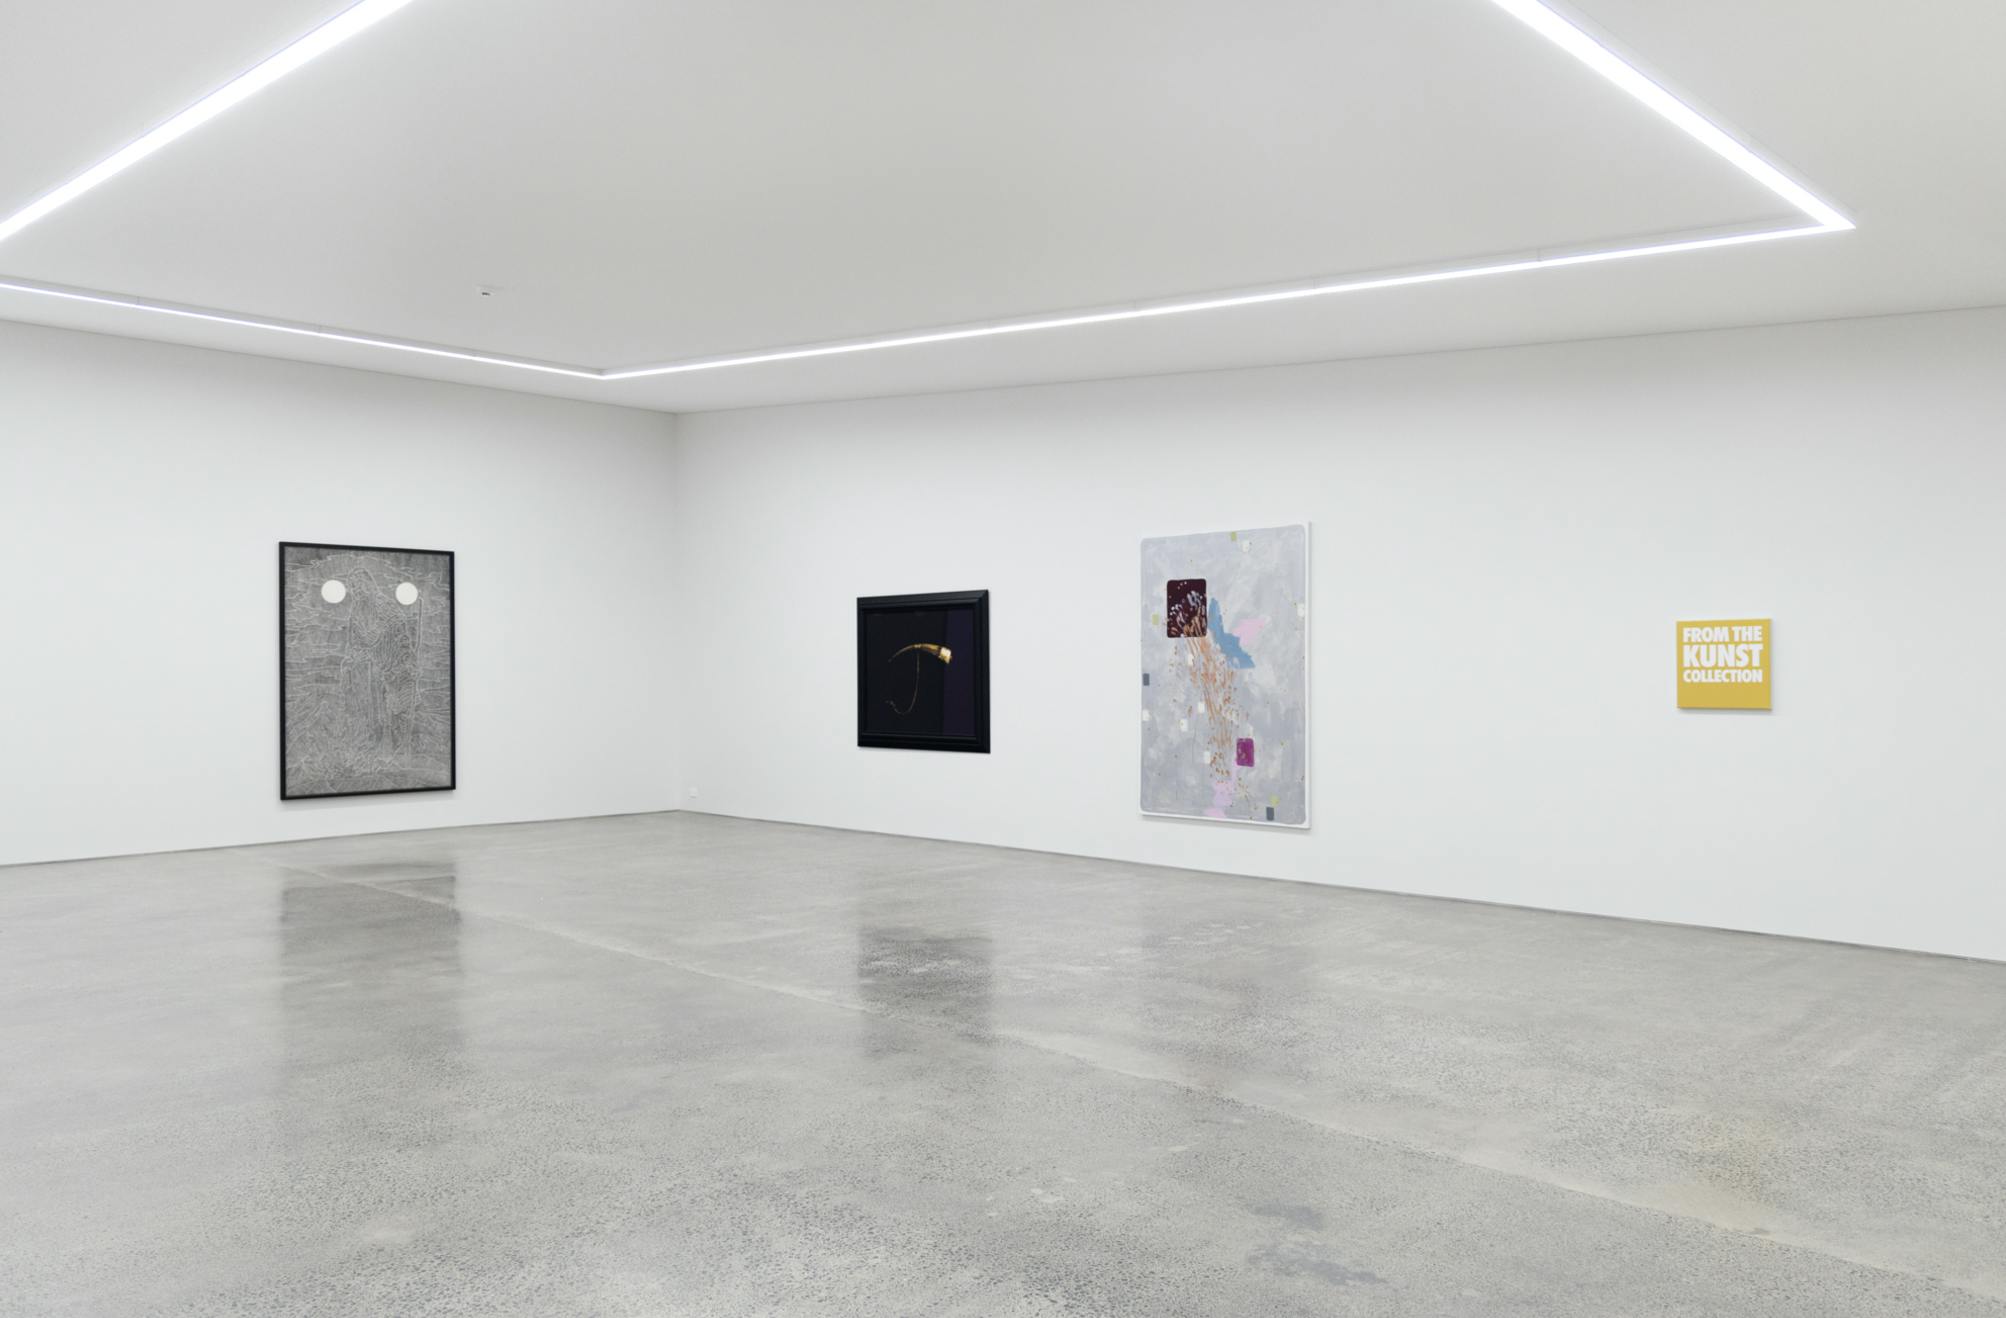
We’ve Seen It All Before, 2024. Installation view. Starkwhite Auckland
Photo Credit
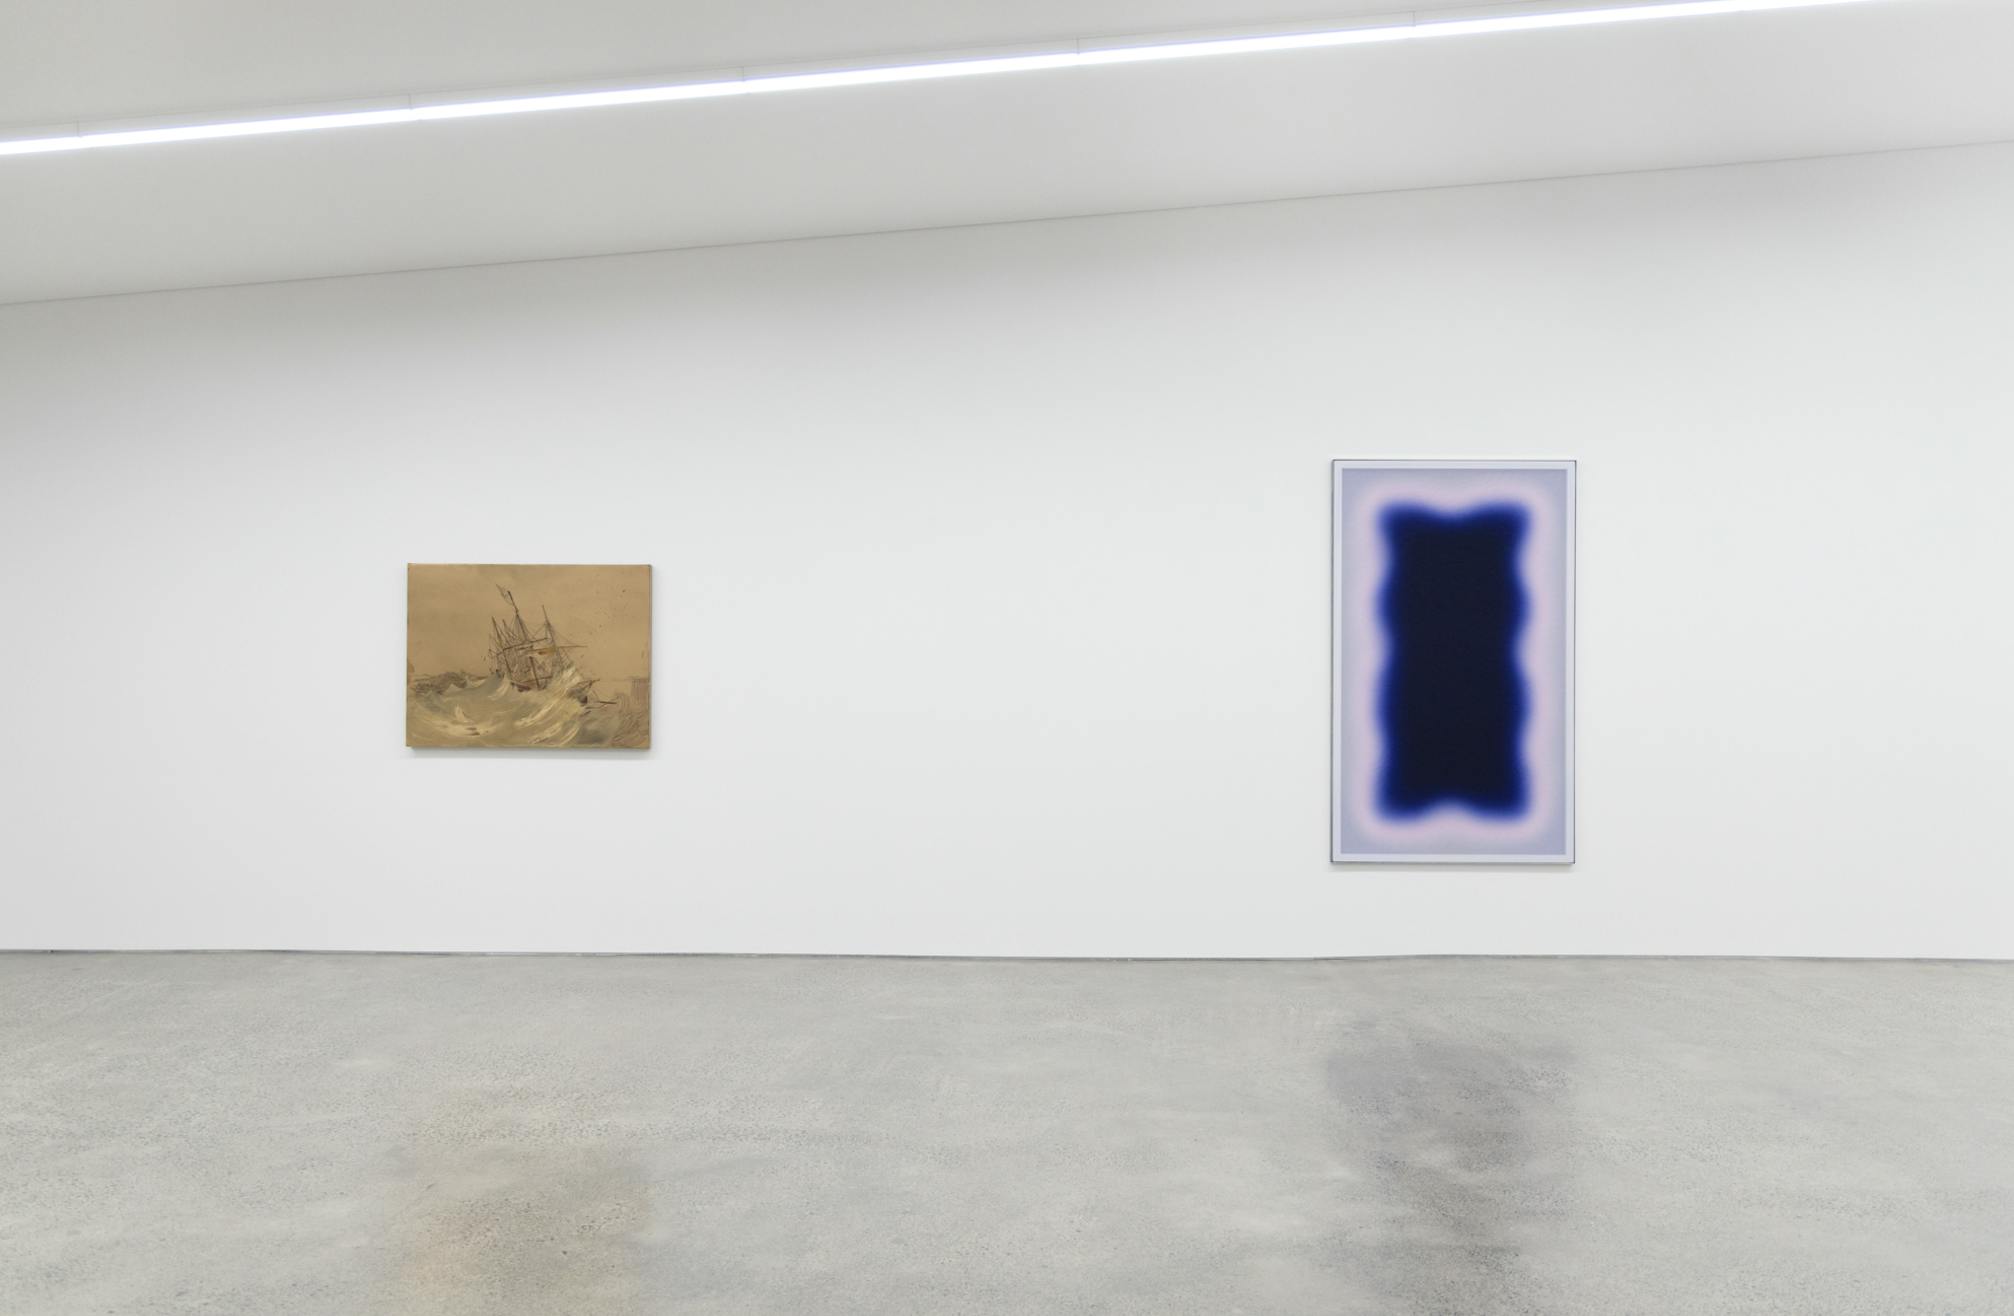
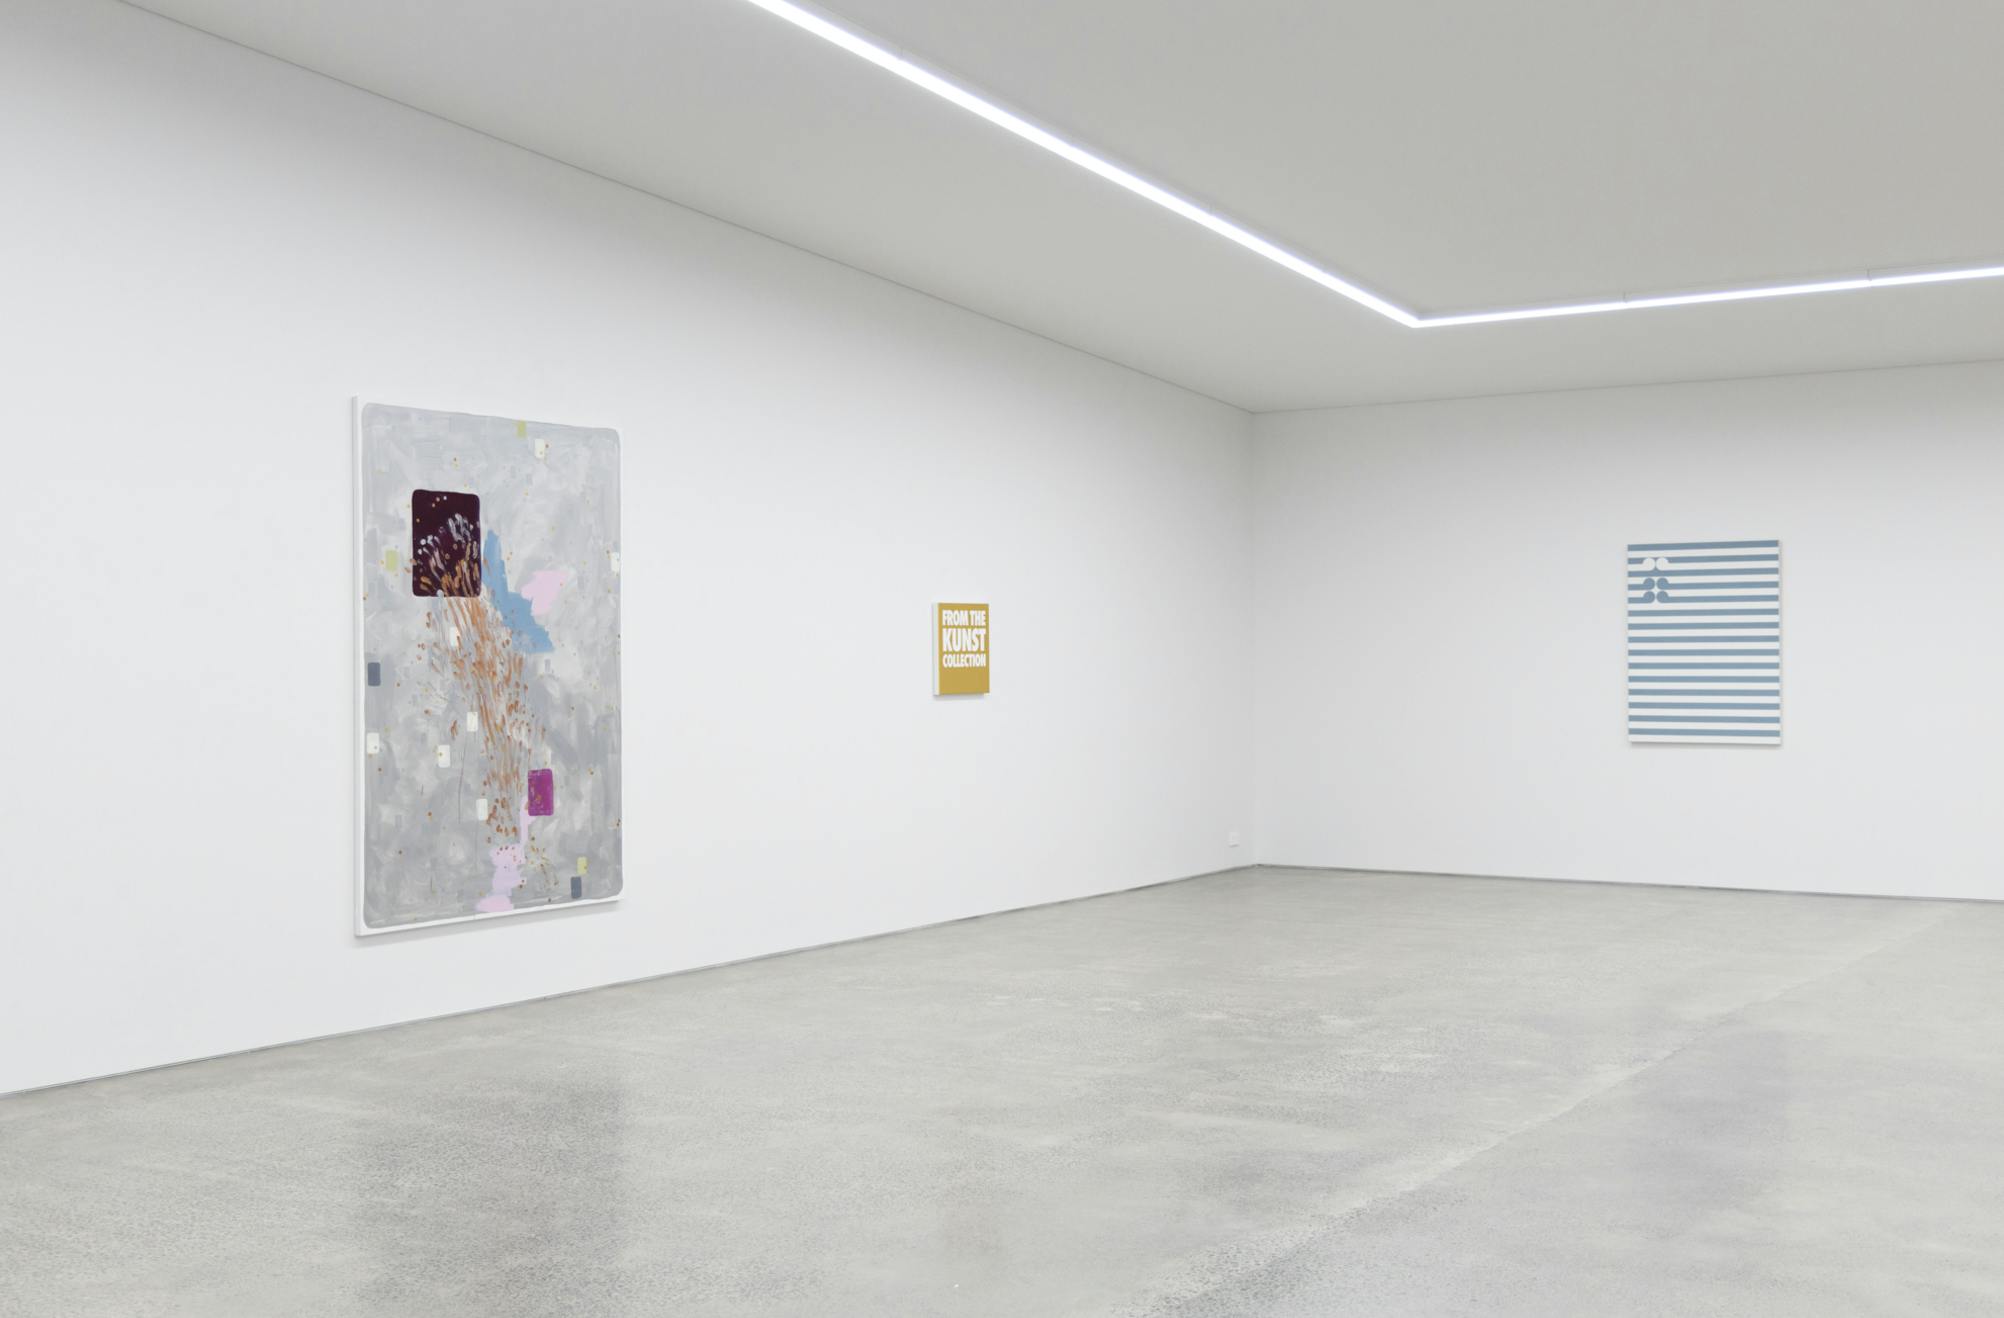
We’ve Seen It All Before, 2024. Installation view. Starkwhite Auckland
Photo Credit
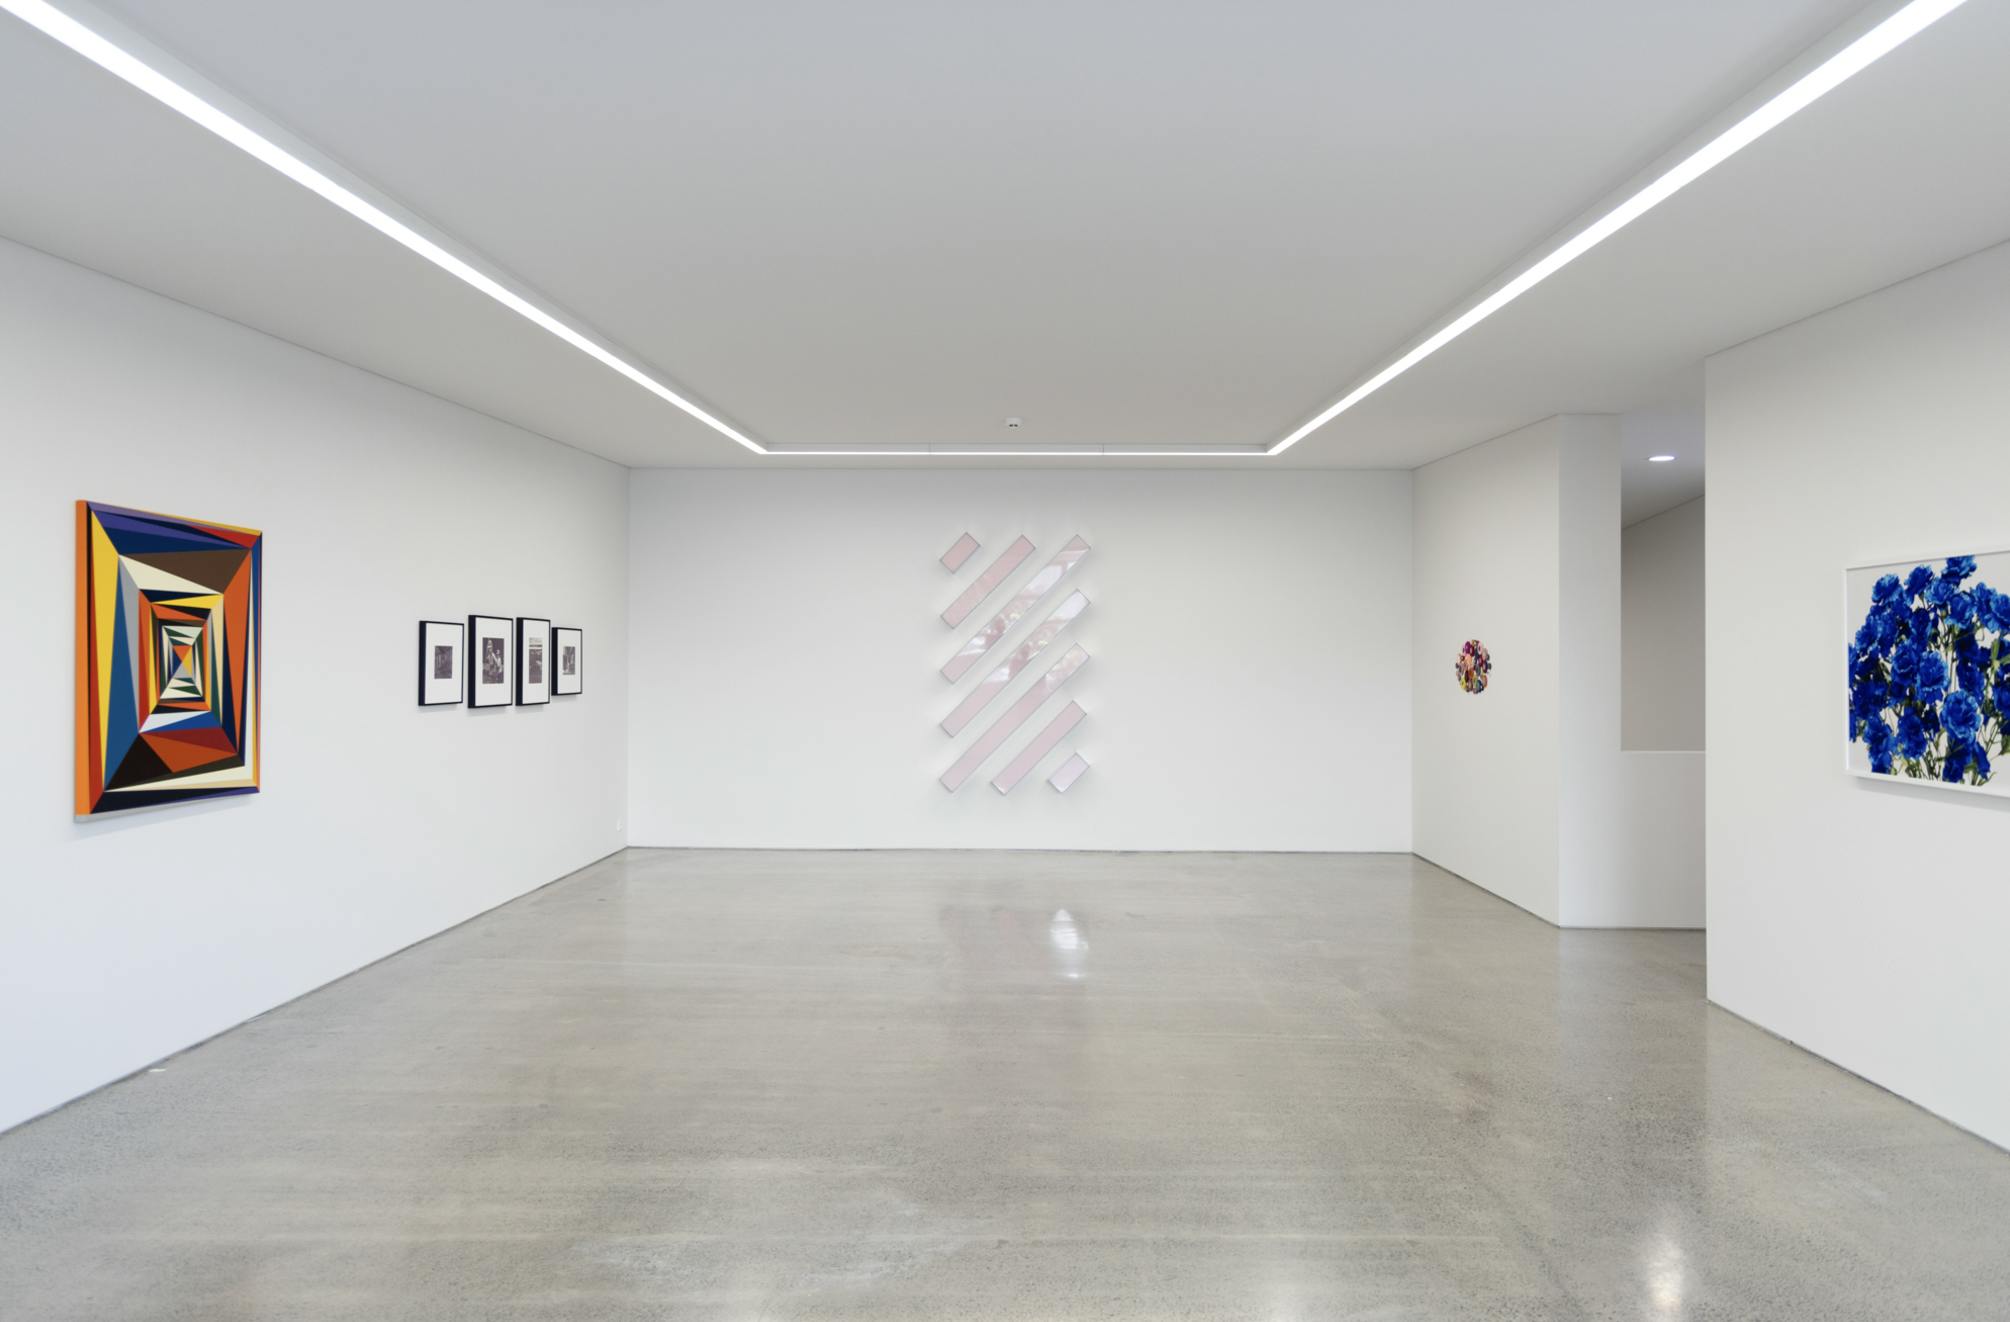
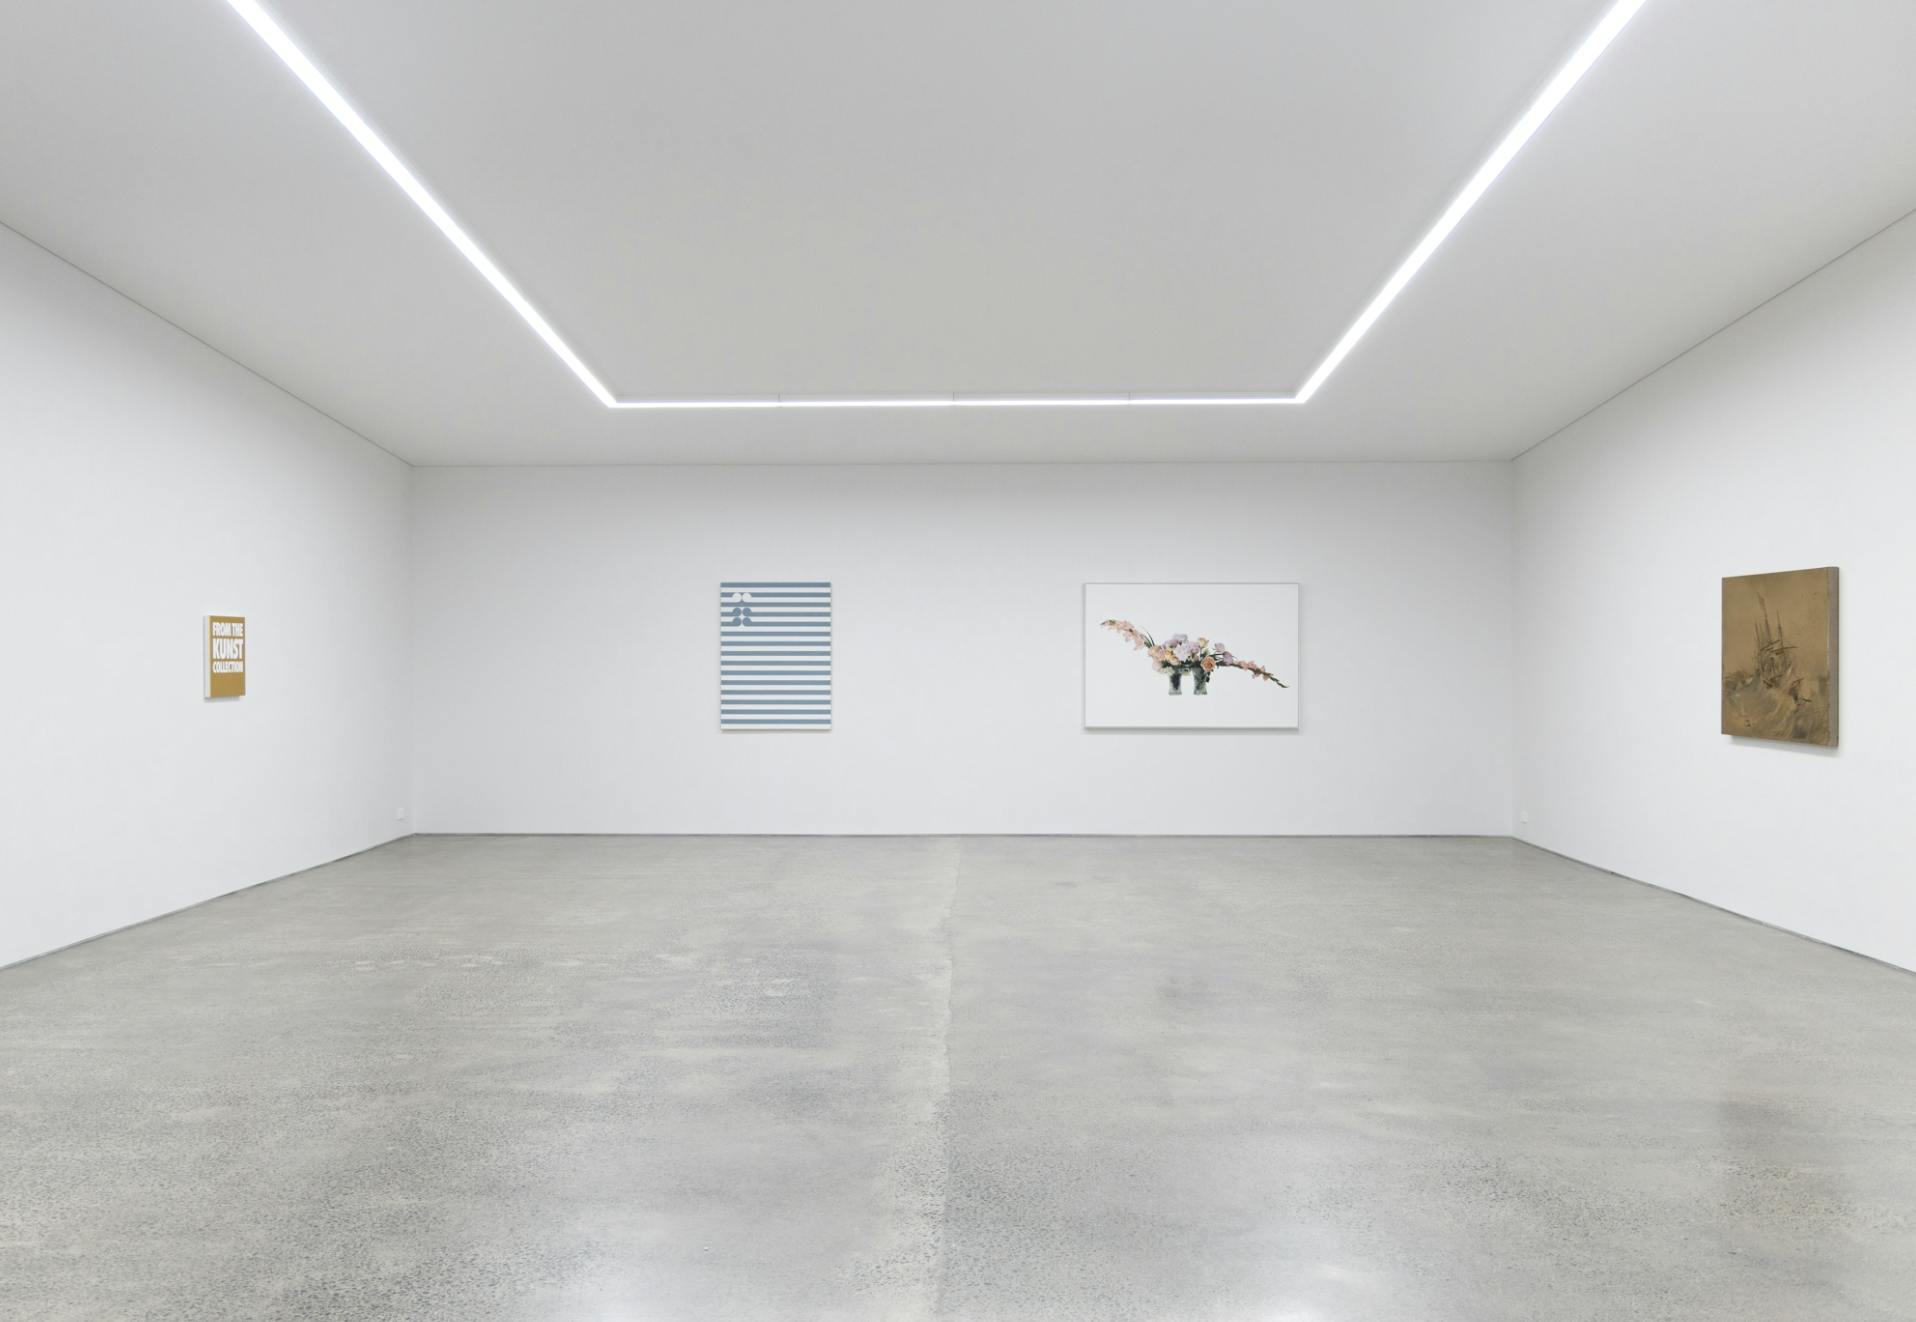
We’ve Seen It All Before, 2024. Installation view. Starkwhite Auckland
Photo Credit
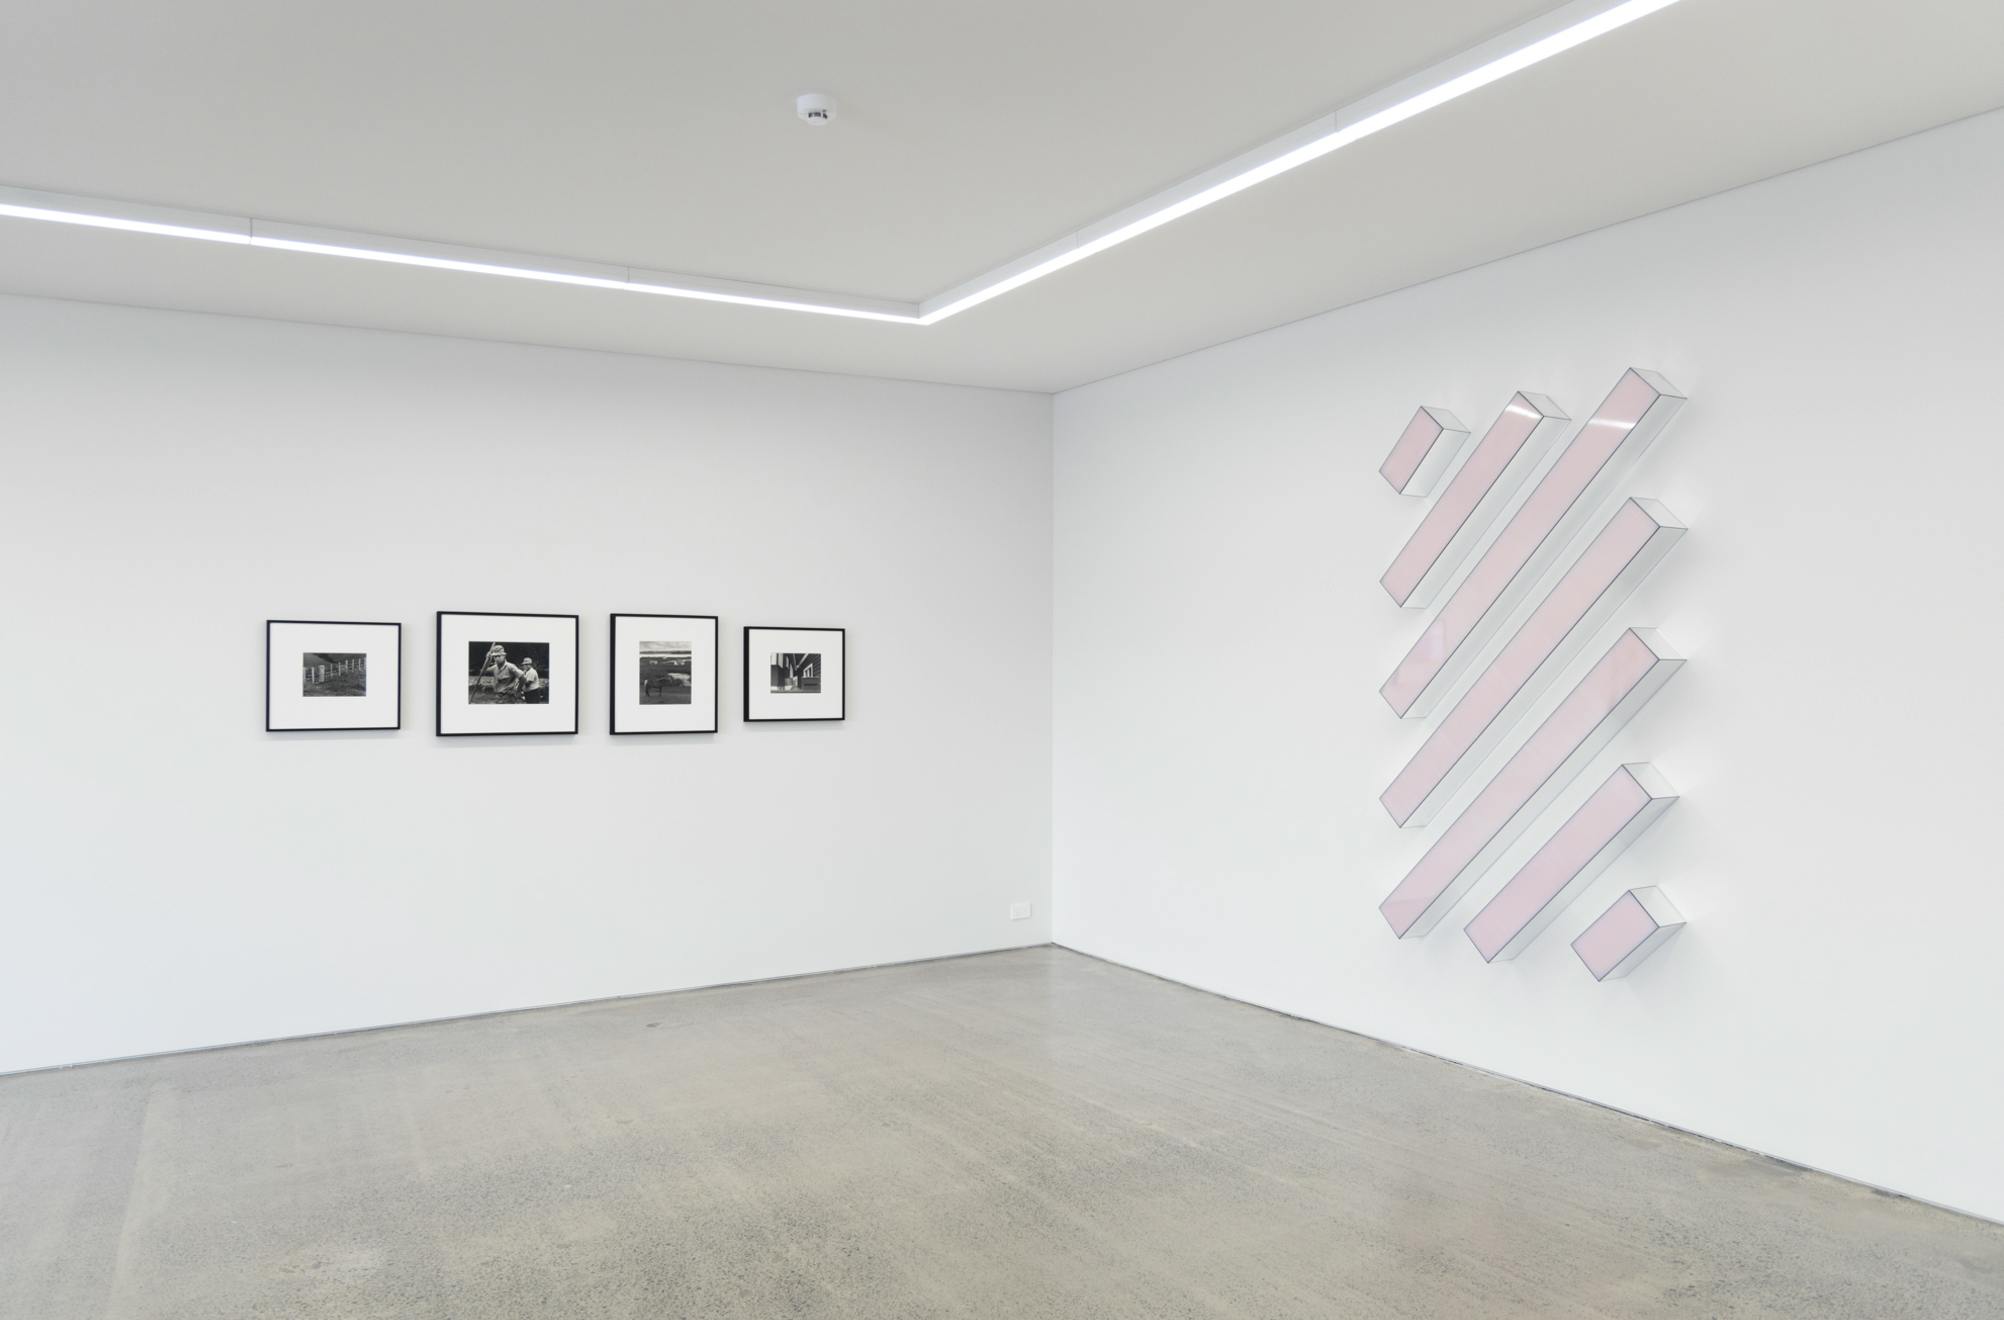
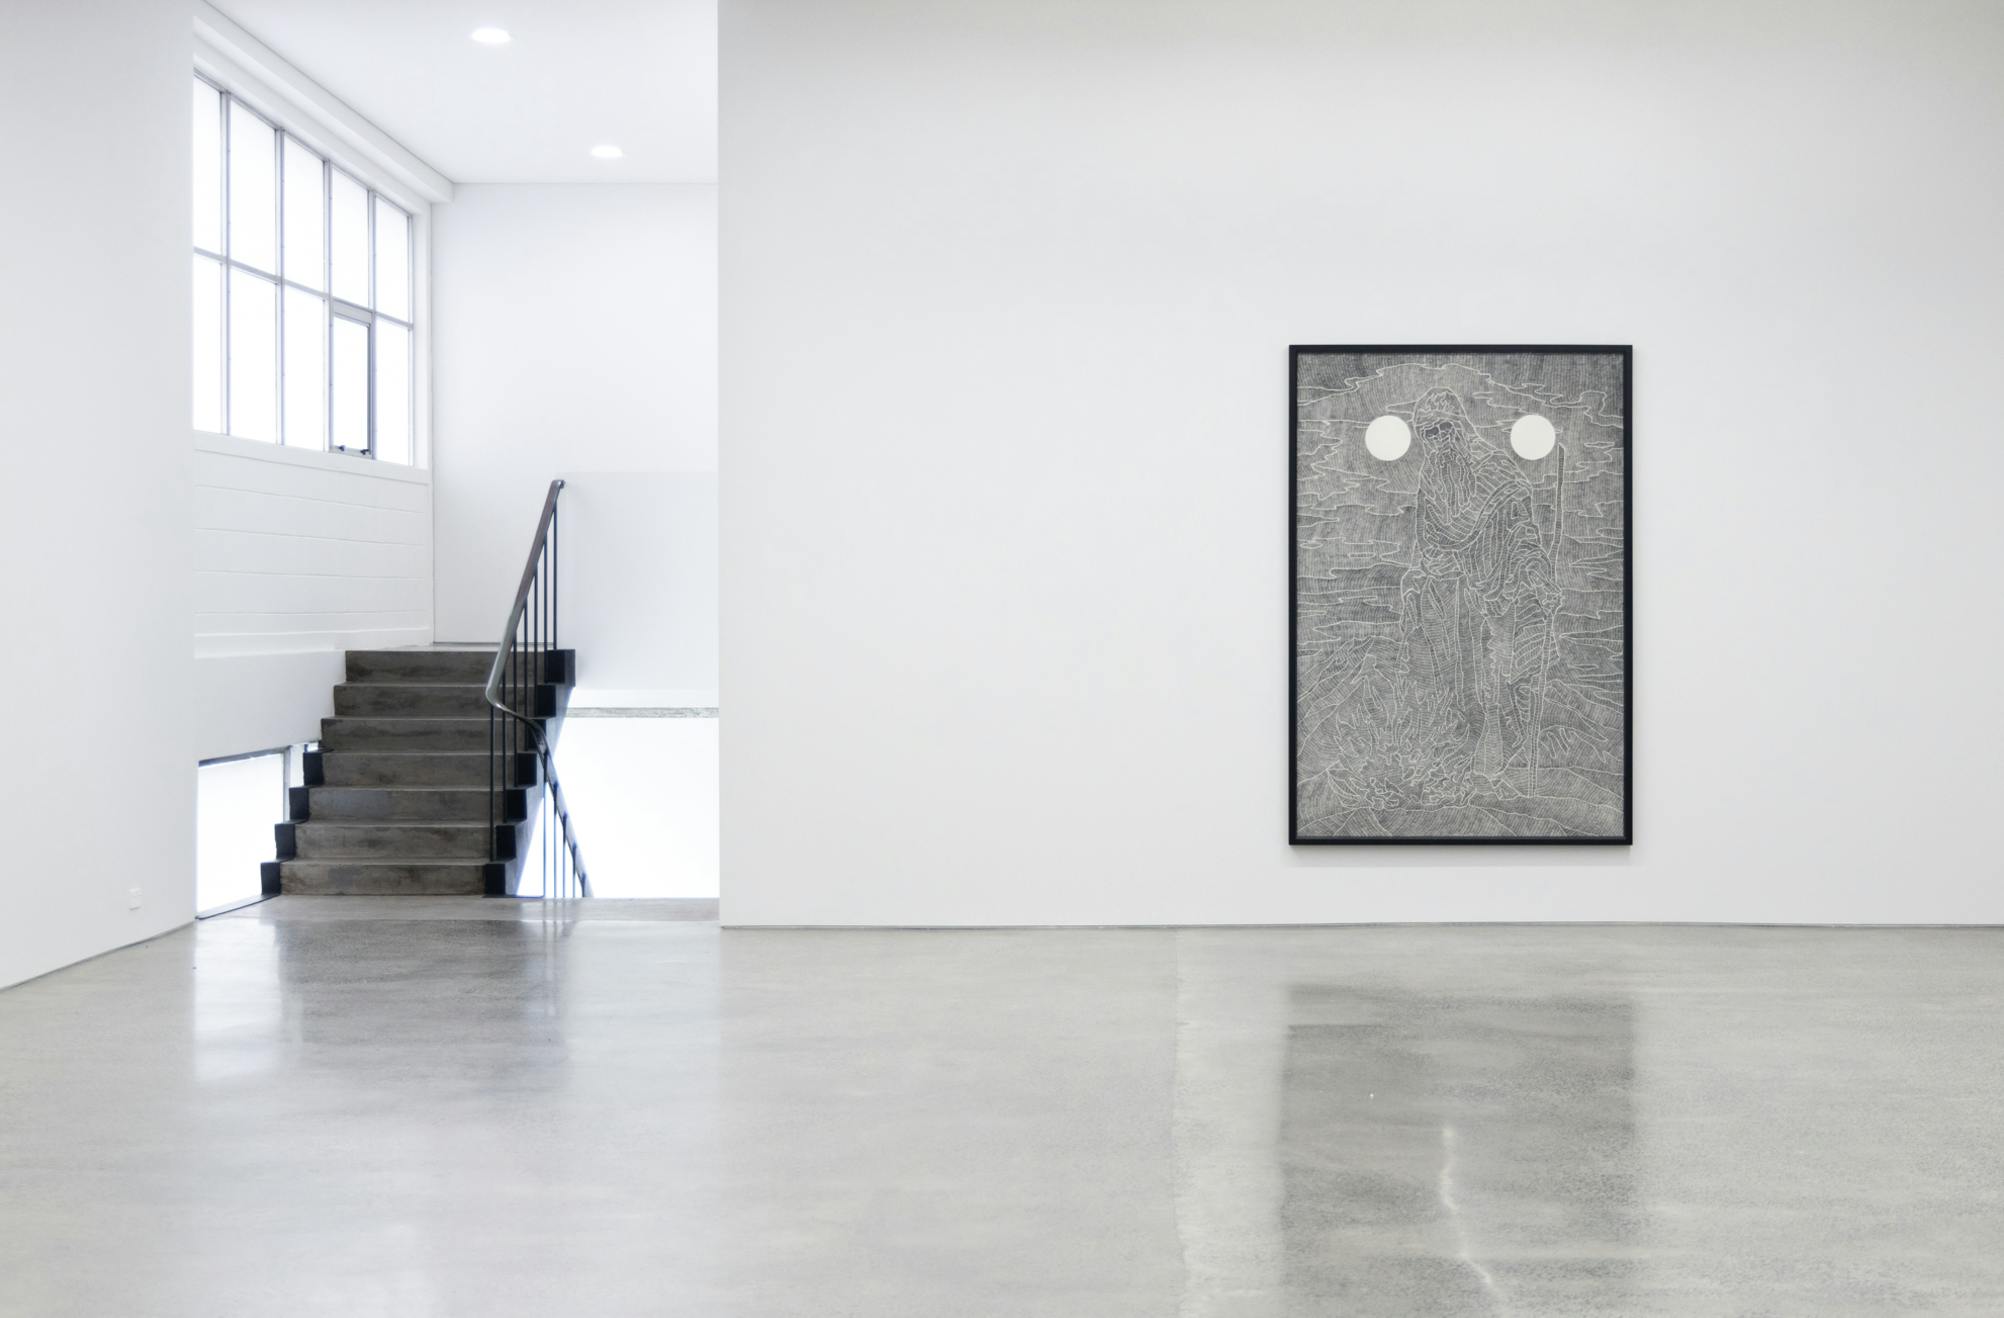
We’ve Seen It All Before, 2024. Installation view. Starkwhite Auckland
Photo Credit
We’ve Seen It All Before, 2024. Installation view. Starkwhite Auckland
Photo Credit
We’ve Seen It All Before, 2024. Installation view. Starkwhite Auckland
Photo Credit
We’ve Seen It All Before, 2024. Installation view. Starkwhite Auckland
Photo Credit
We’ve Seen It All Before, 2024. Installation view. Starkwhite Auckland
Photo Credit
We’ve Seen It All Before, 2024. Installation view. Starkwhite Auckland
Photo Credit
We’ve Seen It All Before, 2024. Installation view. Starkwhite Auckland
Photo Credit
We’ve Seen It All Before, 2024. Installation view. Starkwhite Auckland
Photo Credit
We’ve Seen It All Before, 2024. Installation view. Starkwhite Auckland
Photo Credit
We’ve Seen It All Before, 2024. Installation view. Starkwhite Auckland
Photo Credit
We’ve Seen It All Before, 2024. Installation view. Starkwhite Auckland
Photo Credit
We’ve Seen It All Before, 2024. Installation view. Starkwhite Auckland
Photo Credit
We’ve Seen It All Before, 2024. Installation view. Starkwhite Auckland
Photo Credit
We’ve Seen It All Before, 2024. Installation view. Starkwhite Auckland
Photo Credit
We’ve Seen It All Before, 2024. Installation view. Starkwhite Auckland
Photo Credit
We’ve Seen It All Before, 2024. Installation view. Starkwhite Auckland
Photo Credit


